We will create new lead records in Dynamics 365 using the Excel sheet which is uploaded on OneDrive with the help of Microsoft Flow.
In this post, we will try to navigate the way to use excel, that is on OneDrive, to create new lead records in Dynamics 365 CRM with the help of Microsoft Flow connector. Below we will give you the steps to create leads from excel using Microsoft Flow.
Learn more about our Microsoft Dynamics 365 Services
Steps to Create Lead from Excel sheet using Microsoft Flow
Step 1: Login to Microsoft flow and you will see the screen below after login:

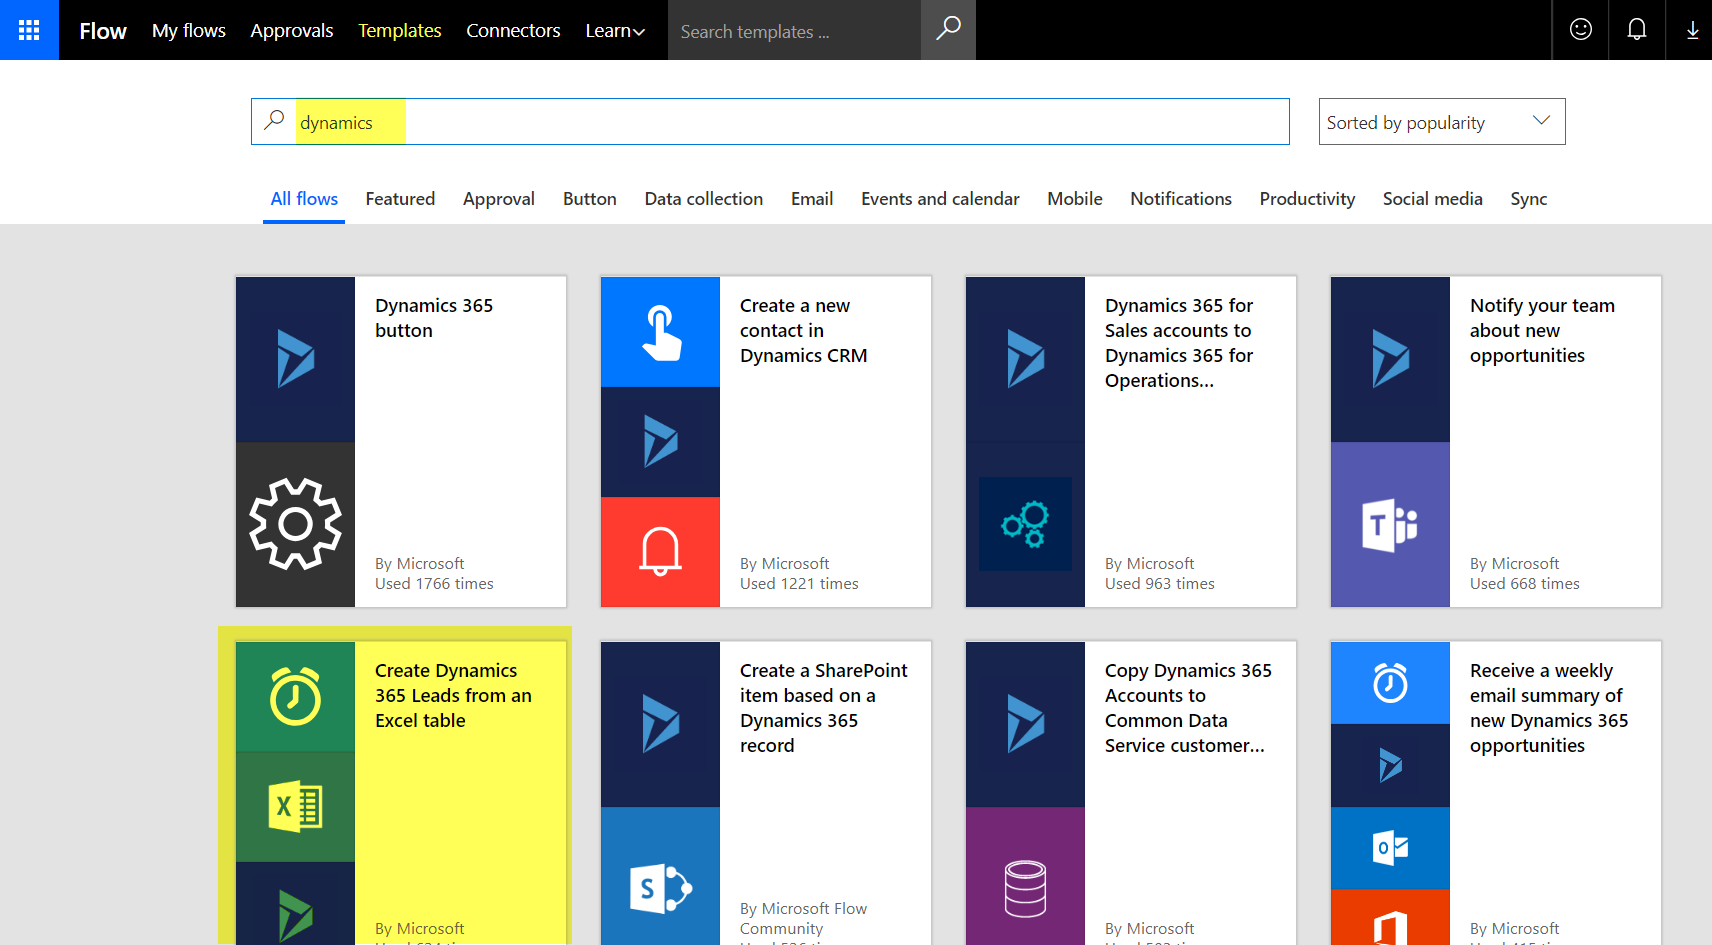
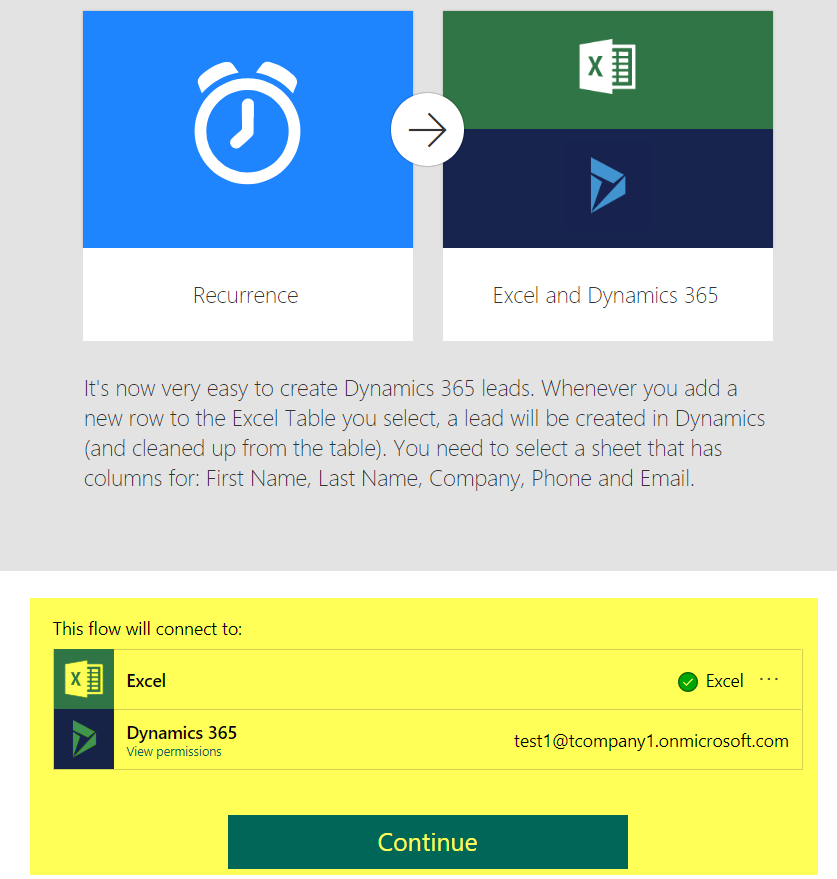
Step 2: Now Go to Settings > Microsoft Flow > click on templates. It will show the list of templates of flow. Select template “Create Dynamics 365 Leads from an Excel table“ as shown highlighted below:
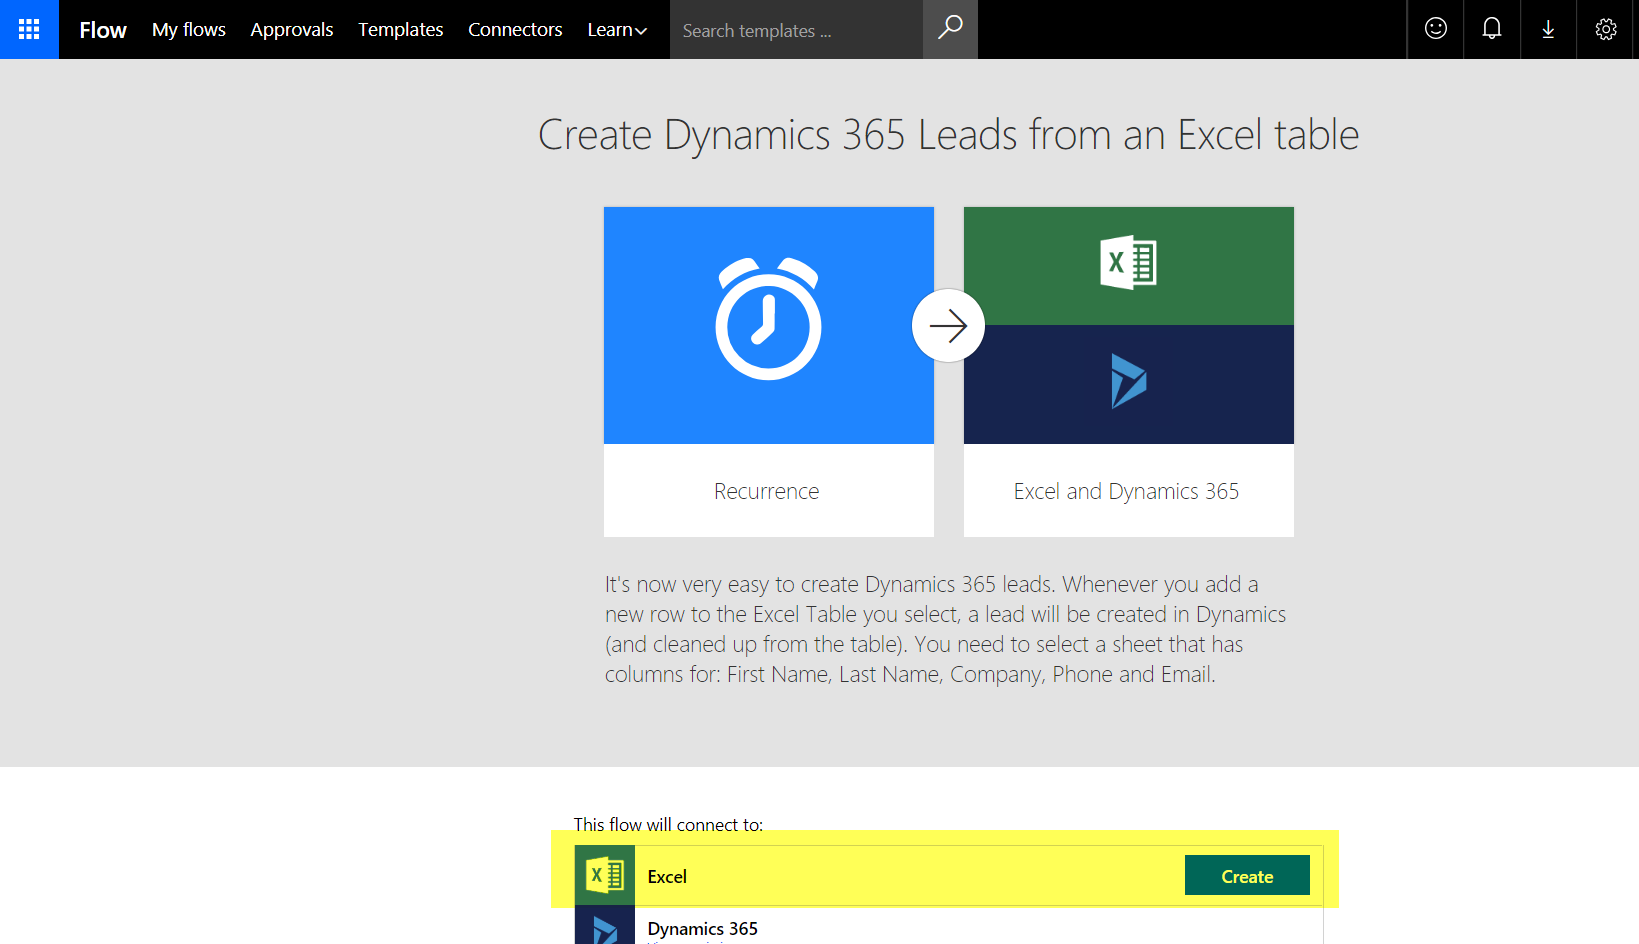
Step 3: After that it will ask for the selection of an Excel sheet for cloud storage
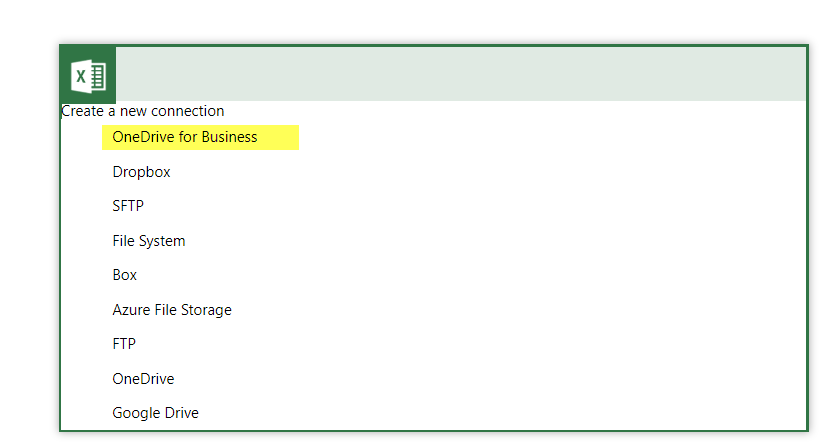
Step 4: There are some choices from where you can select the Excel sheet using OneDrive. The image below shows the available option for cloud storage that can be used to get the Excel sheet:
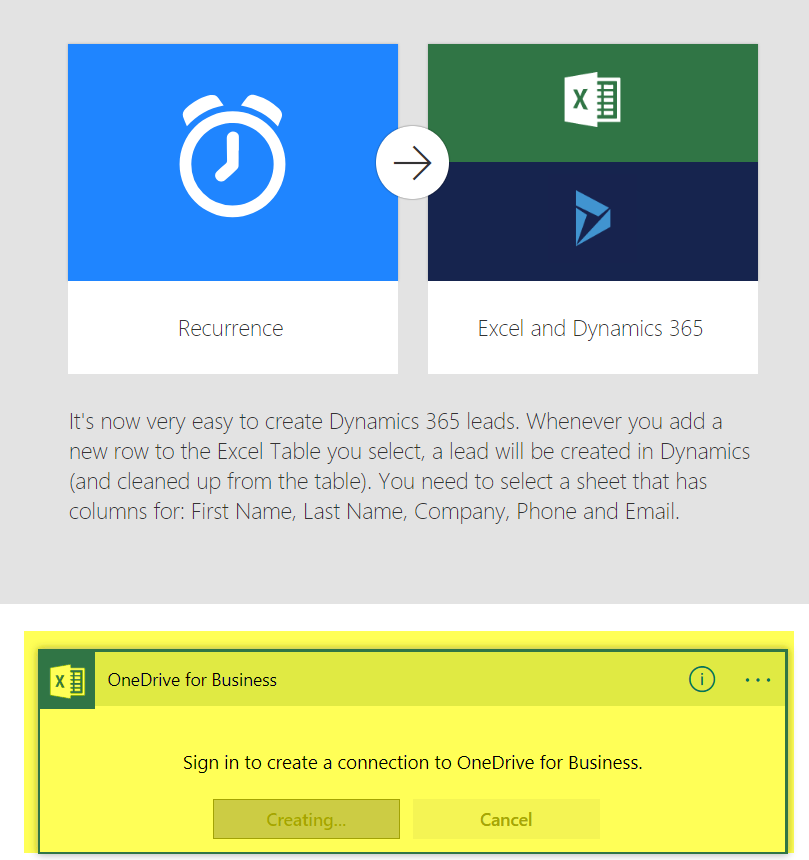
Step 5: After selecting the cloud storage- in this case OneDrive- it goes for the connectivity after getting the credential, as shown in the image below:
Step 6: Once the connection is successful, we can proceed to connect by clicking on the continue button, as shown below:
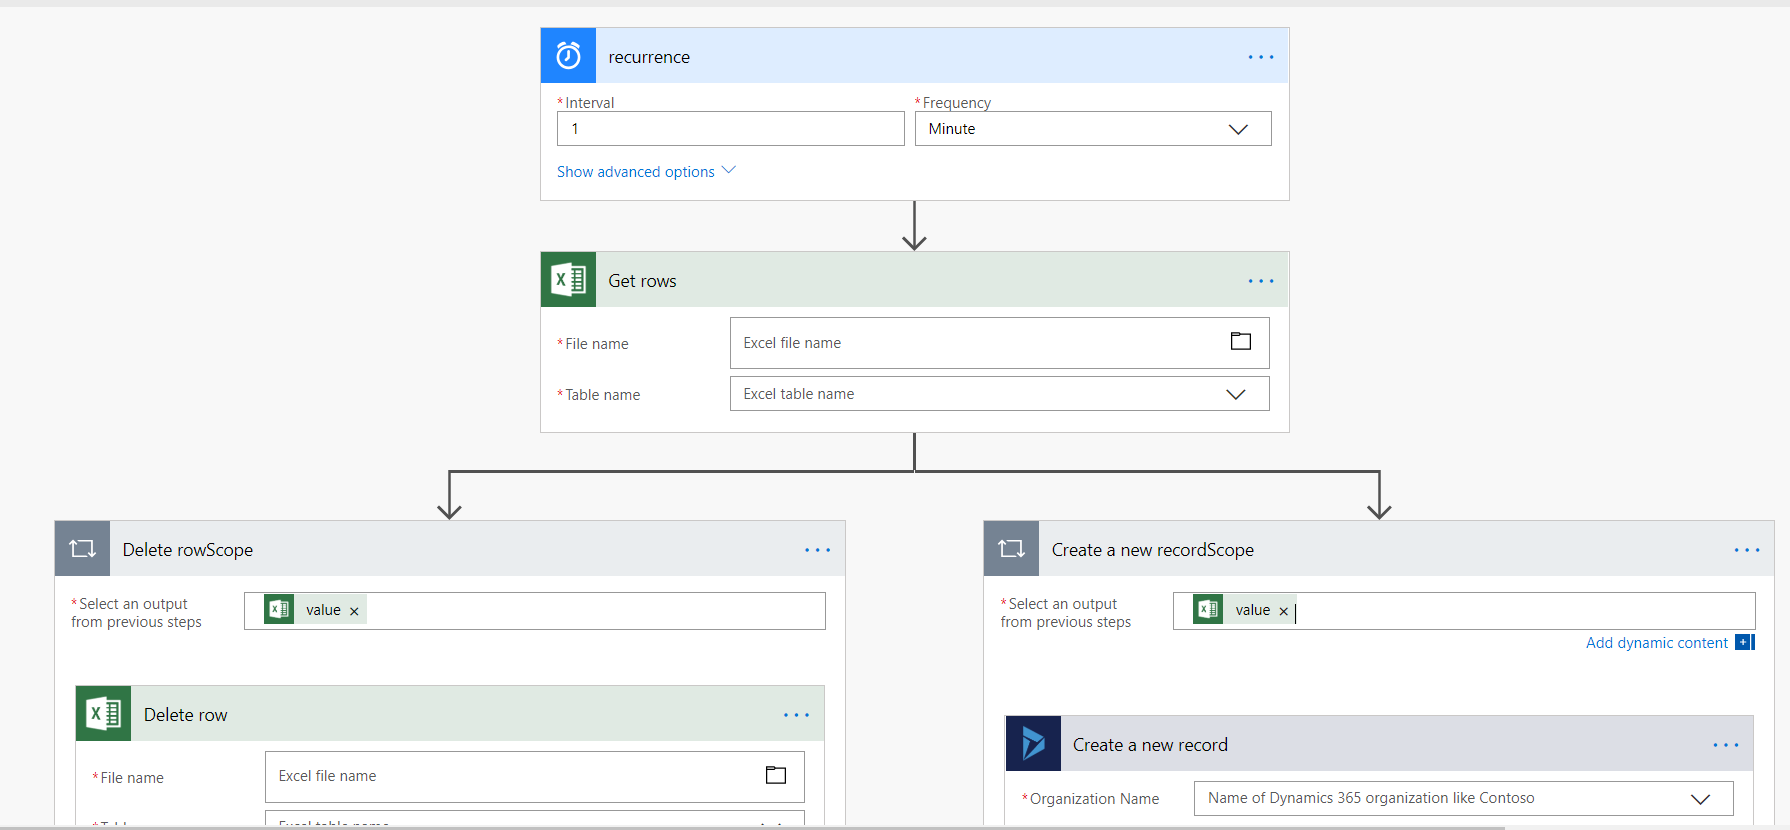
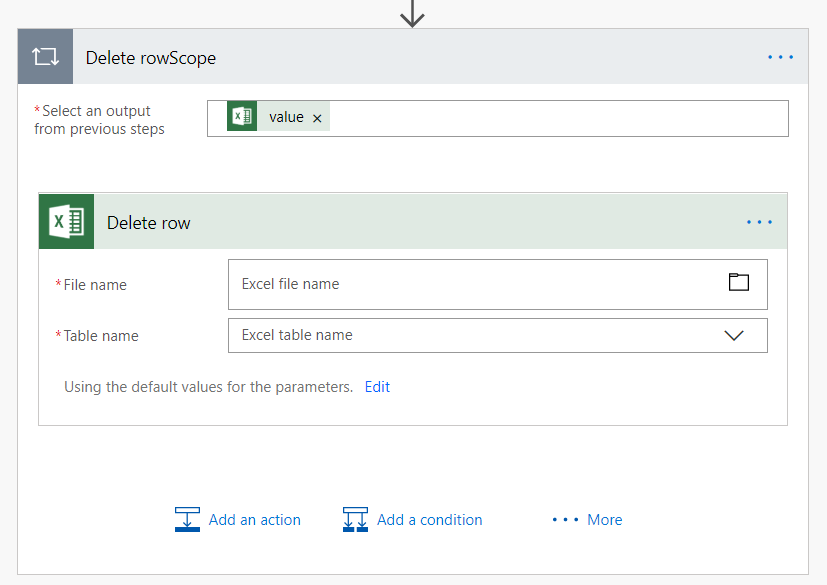
Step 7: Now it will show the Microsoft Flow template screen. Here, we need to select the Excel file that we want to process and delete the row after creation is complete, as shown in the image below:
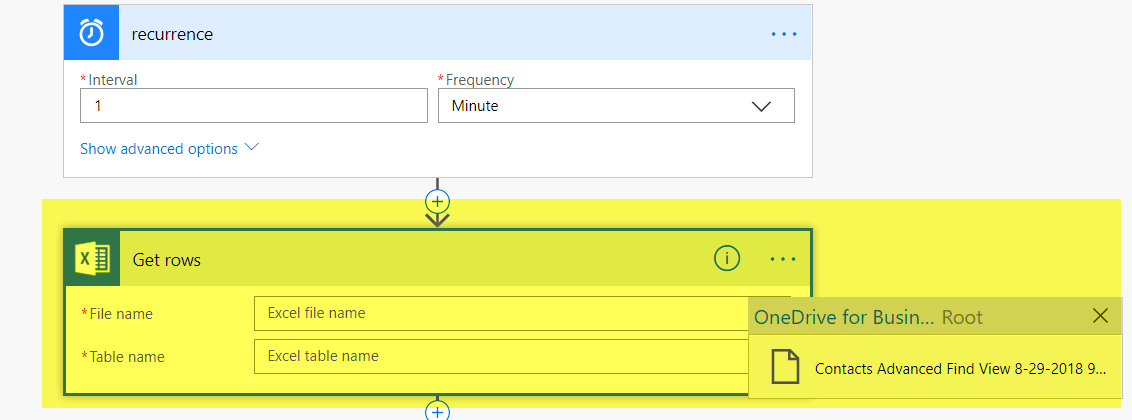
Step 8: Now we will select the Excel sheet from OneDrive that we want to process:
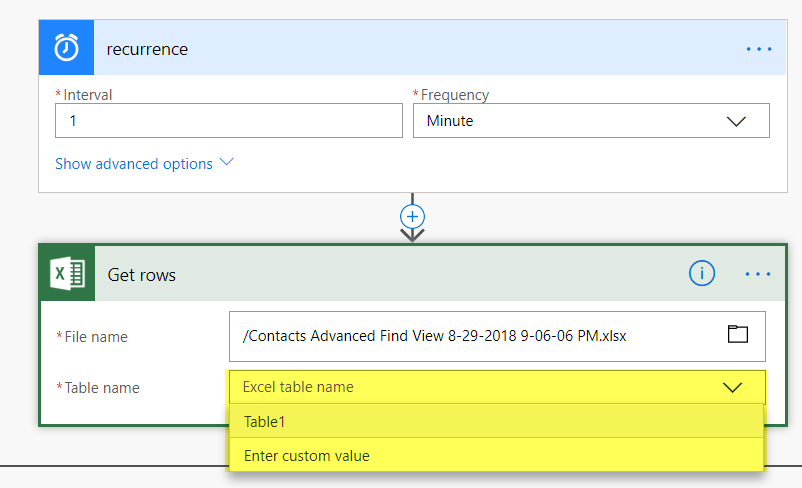
Step 9: After selection of the Excel sheet, we will select the Table from the sheet that we want to process:
Step 10: Now we will repeat the same selection step for the delete row option
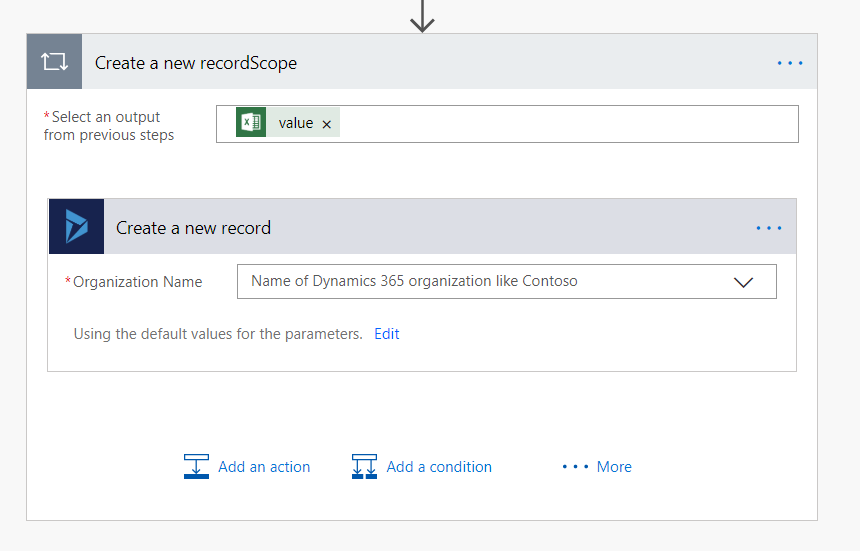
Step 11: Now we will configure the creation of the Lead option in flow
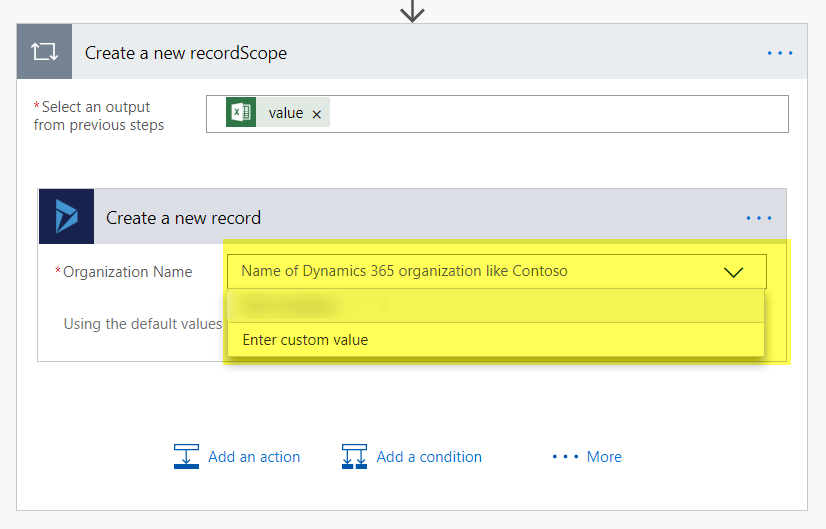
Step 12: Now we will select the Dynamics 365 org on which we need to perform the operations, as shown in the image below:
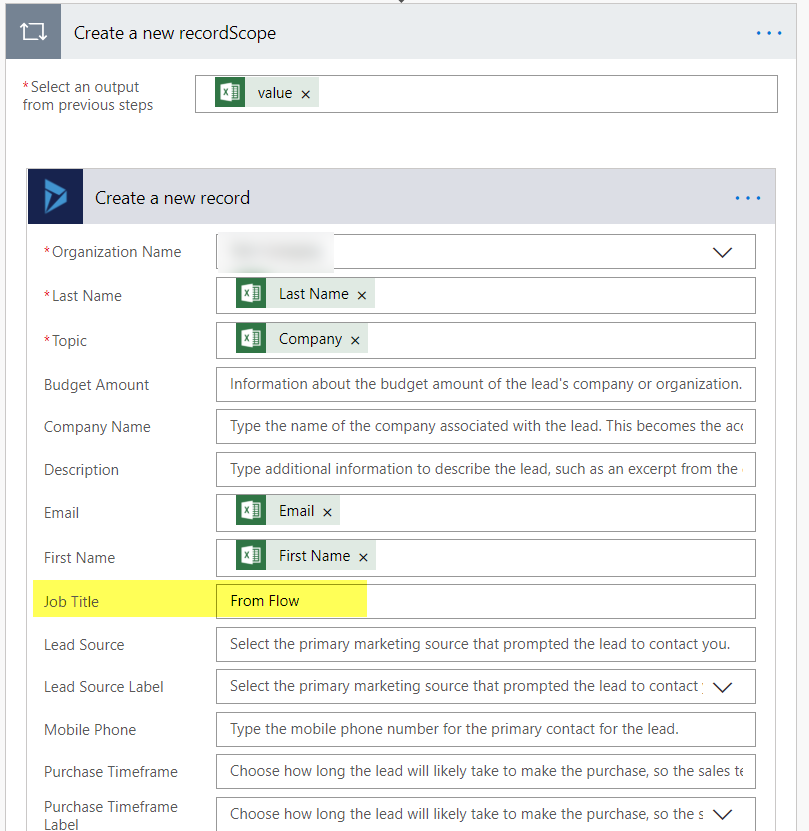
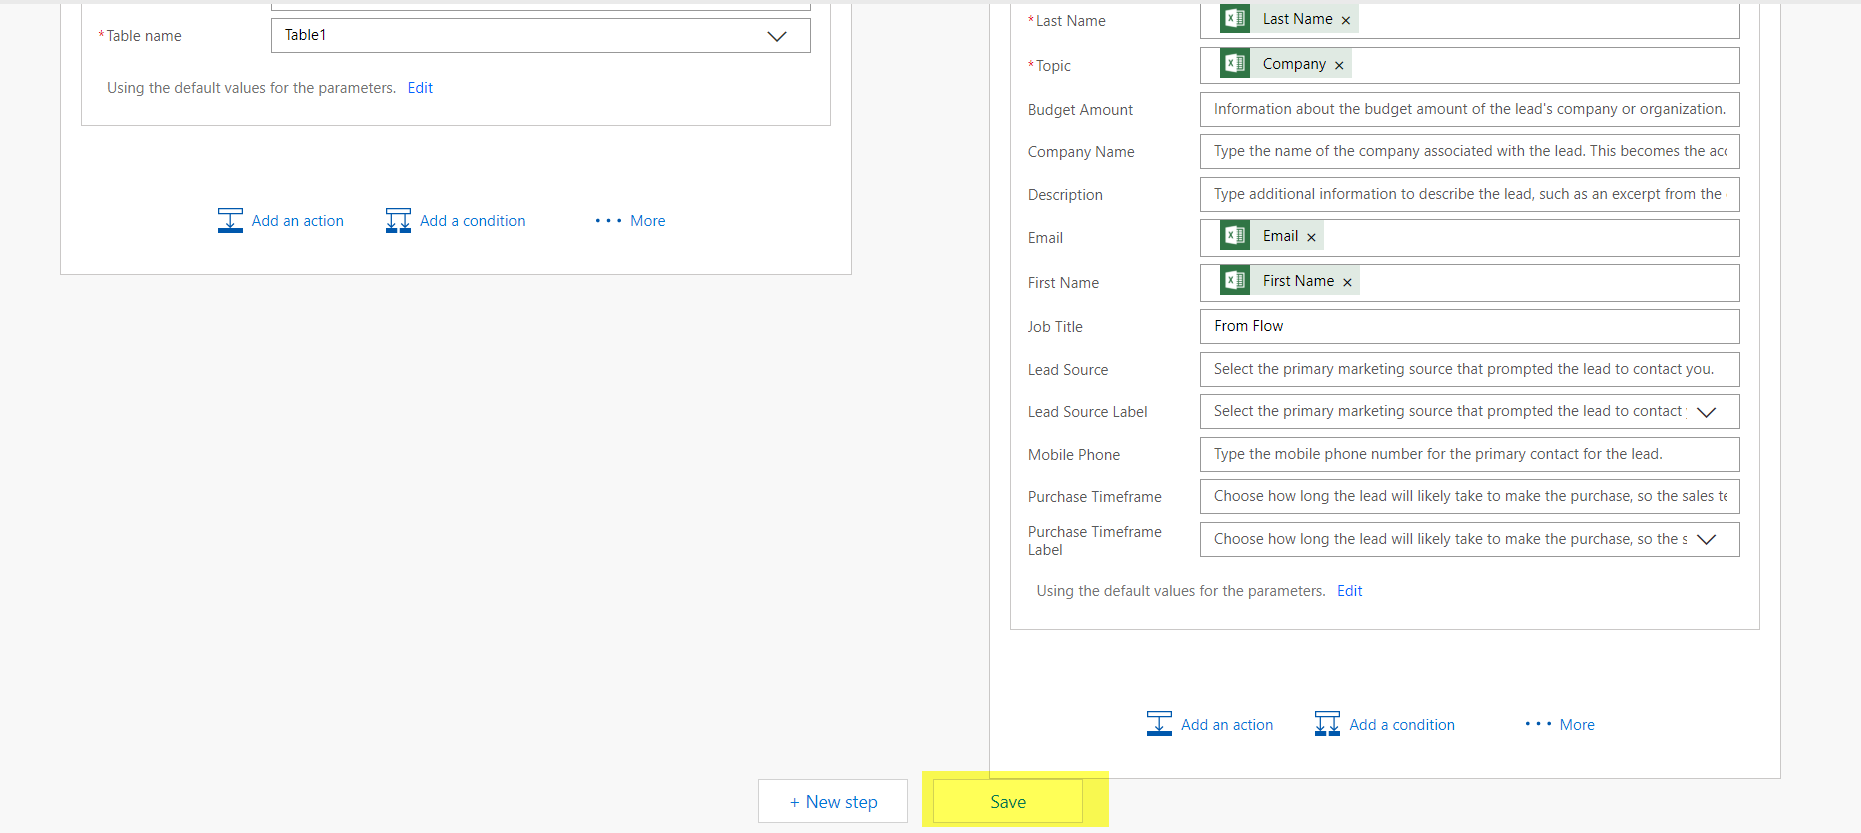
Step 13: Now we can assign the values from the Excel Sheet to the desired fields in Lead record and also hard code the values as you can see in the image below:
Step 14: After completing the mapping of fields, we will save the Flow
Now we have successfully completed all the steps to configure Microsoft Flow.
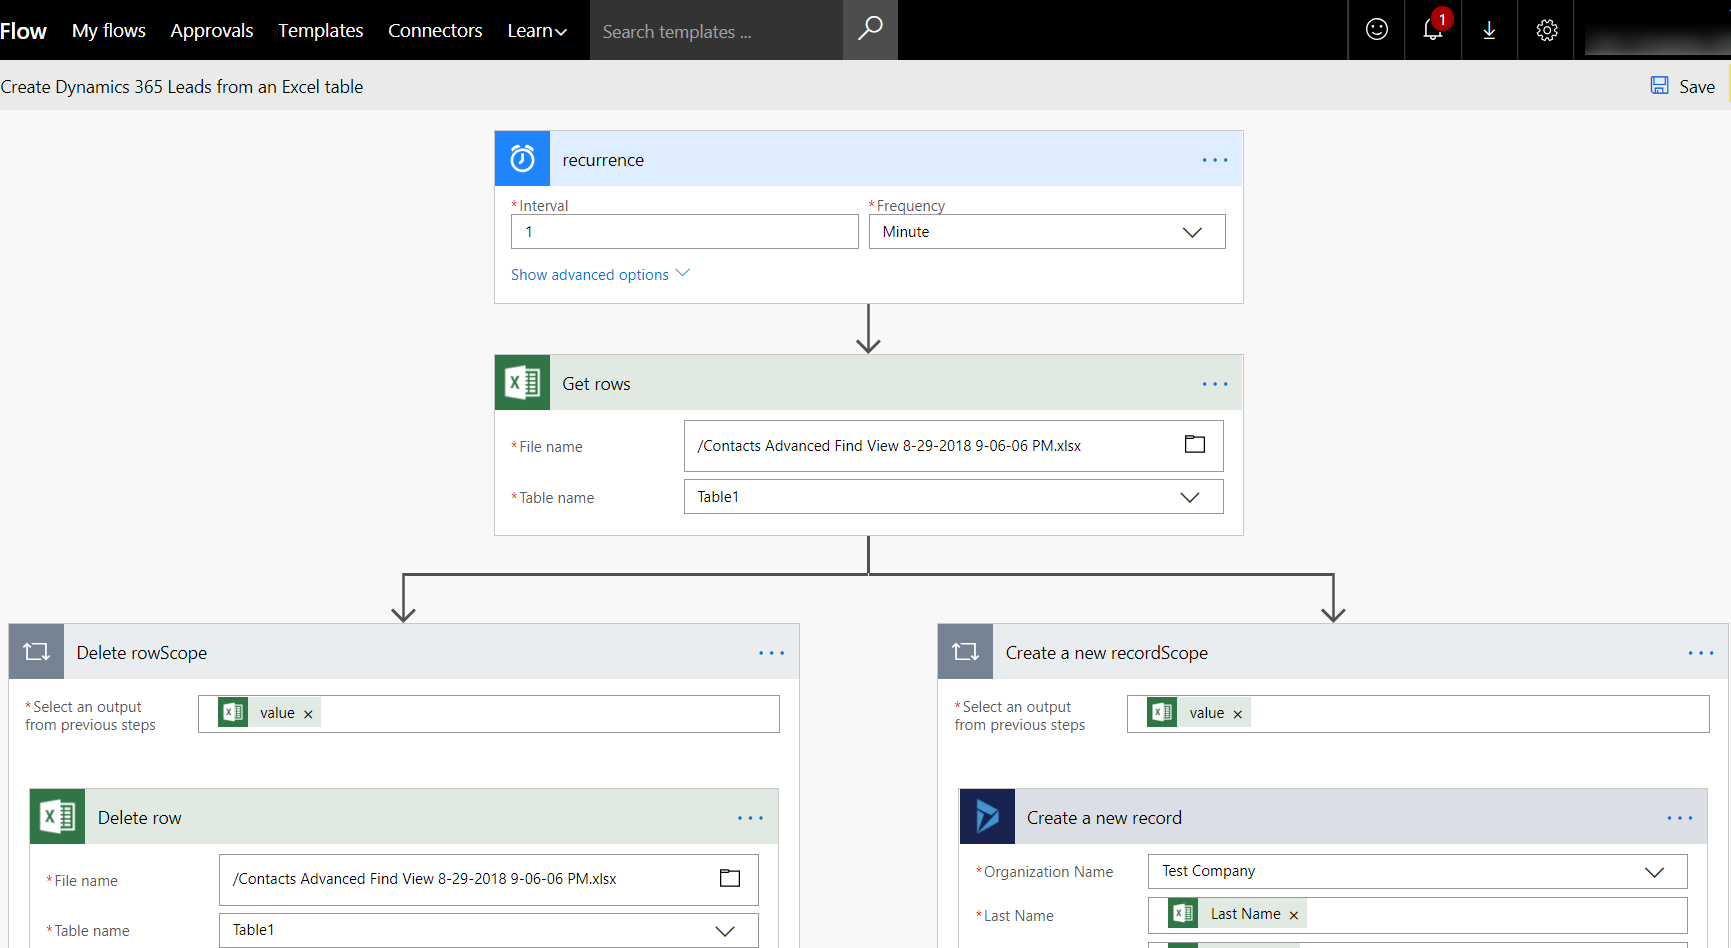
Microsoft Flow After Complete Configuration
You can see the complete Flow in the image below after the configuration:
Running Microsoft Flow
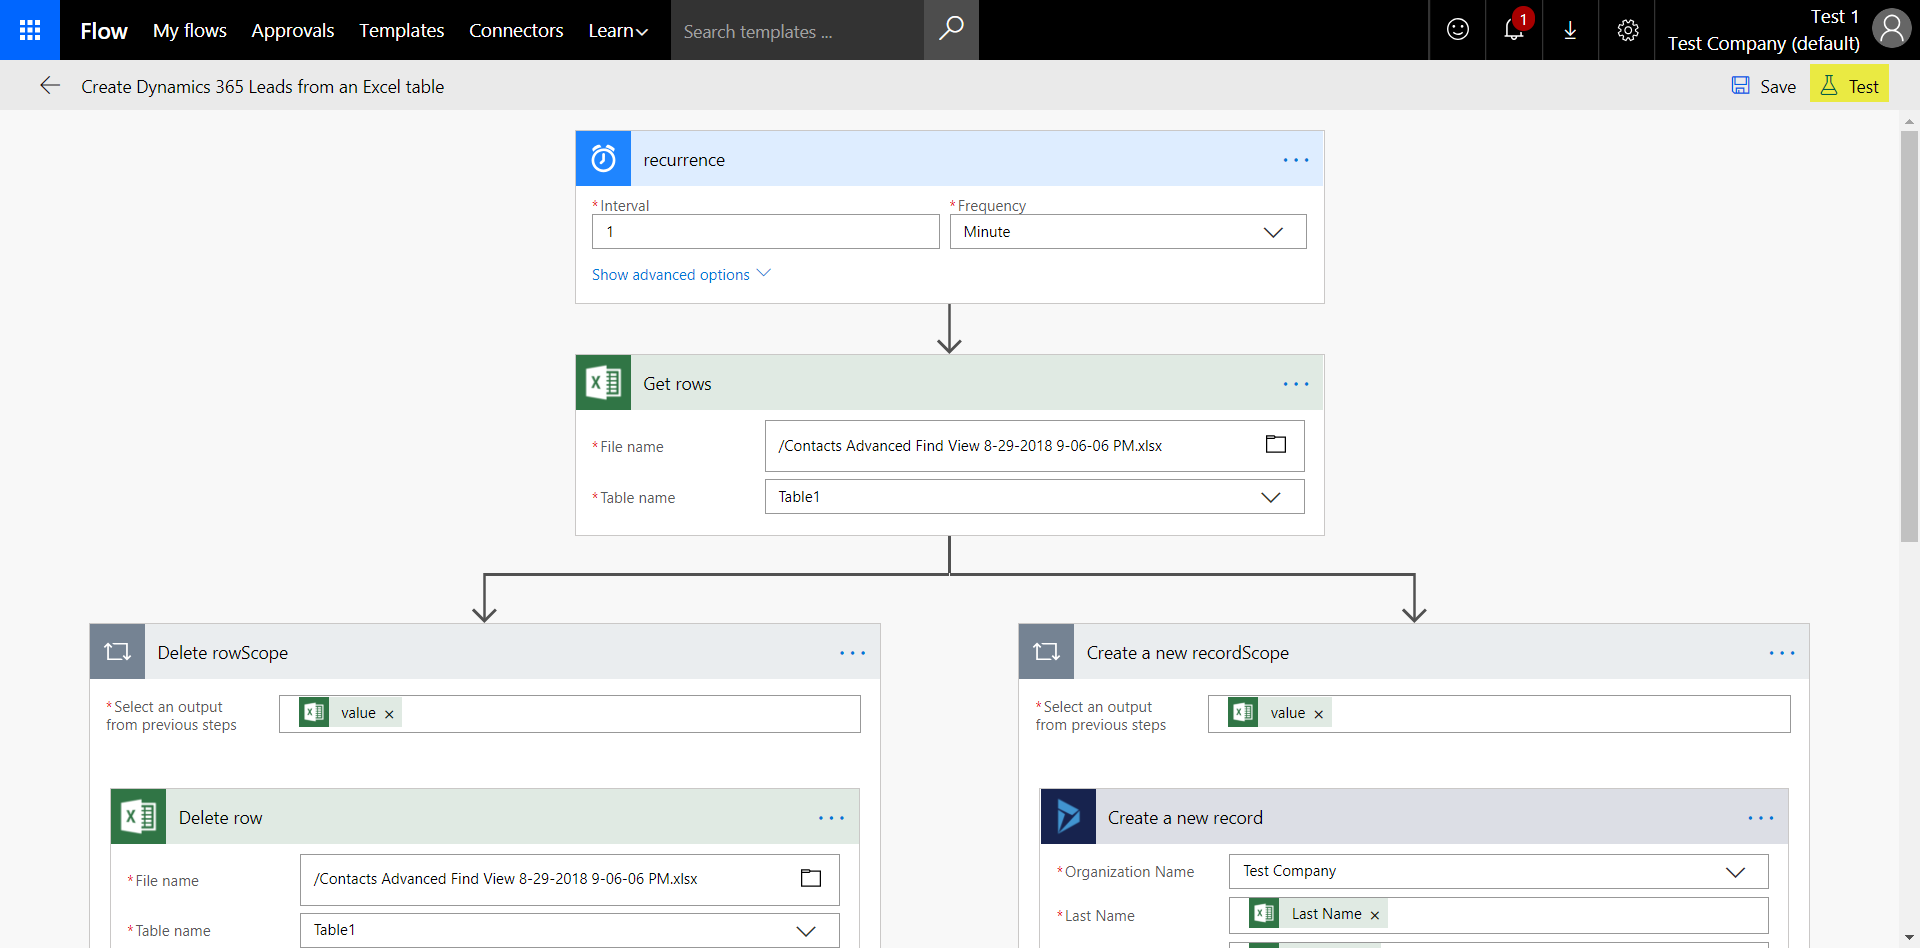
For testing and running flow, there is a button on the top right of your screen with the label “Test” as shown in the image below- we need to click it
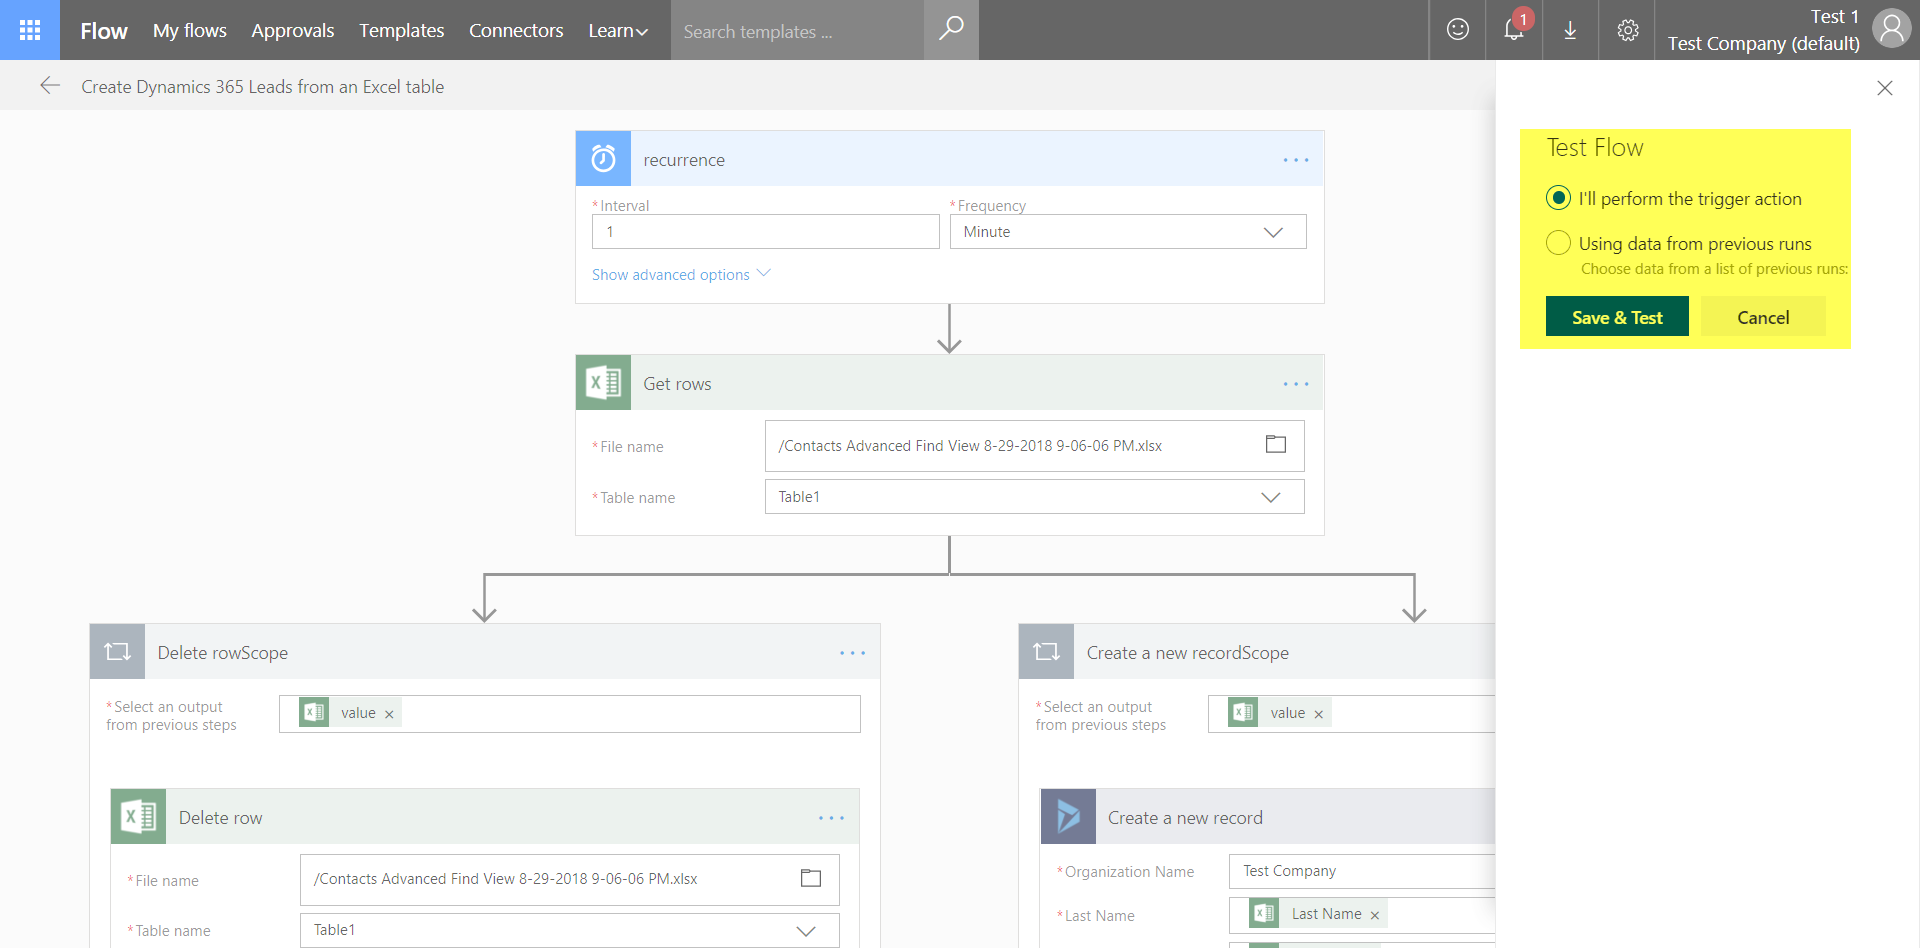
Once you click, it asks for some options on how you prefer to run the Microsoft Flow. Select the option that best suits you.
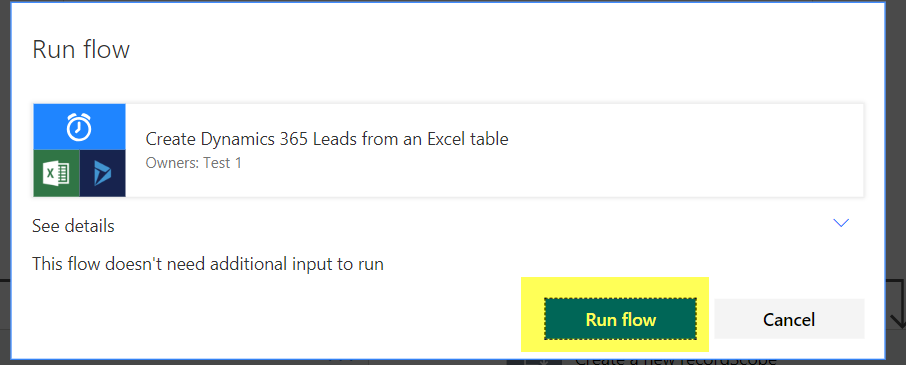
After that, you will see the screen with the Run flow button. Click that to start the Microsoft Flow.
Hope this was helpful
Thanks!!!
Conclusion
We used the Excel Sheet that is on cloud storage and uses Microsoft Flow to get the data for lead and create records on Dynamic 365.
If you have any question or queries, do not hesitate to reach out to us!

