Table of Contents
Introduction
Before getting started with setting up SharePoint Framework (Spfx) development environment, it’s better to read about SPFx. If you don’t know what SPFx is, then you can read all about it in my previous blogpost (SharePoint Framework Development). It is an overall guide for SPFx where you will find the introduction, key features and must know things related to the subject.
AlphaBOLD offers end-to-end SharePoint Services, including SPFx setup, custom solutions, and workflow automation. Enhance productivity and collaboration with our expert support. Get Started Today!
What you Need for SharePoint Framework (SPFx) Development?
A Code Editor:
Use any editor or IDE of your choice that supports client-side development to build your extensions and web parts, such as:
- Visual Studio
- Code Atom
- WebStorm
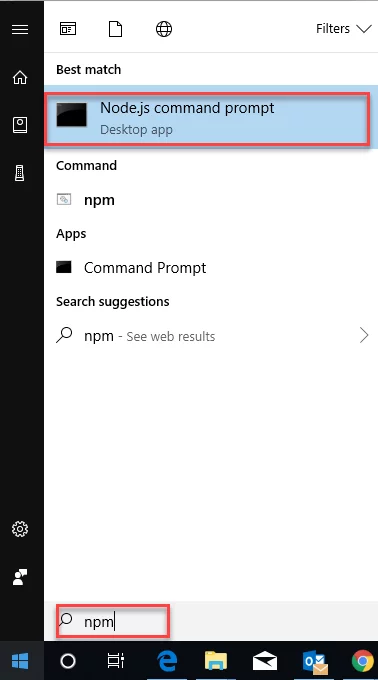
Node.JS command prompt
Open Node.JS command prompt from your system’s start menu
Install NPM:
Enter the following command onto Node.JS command prompt
npm install

Read more: SharePoint Framework Development (SPFx)
Maximize your SharePoint Investment with Expert SPFx Setup
AlphaBOLD offers robust services that can help you leverage SharePoint framework development to build custom solutions, streamline collaboration, and enhance business productivity.
Request a ConsultationInstall Yeoman and Gulp:
Enter the following command onto Node.JS command prompt to install Yeoman and gulp:
npm install -g yo gulp
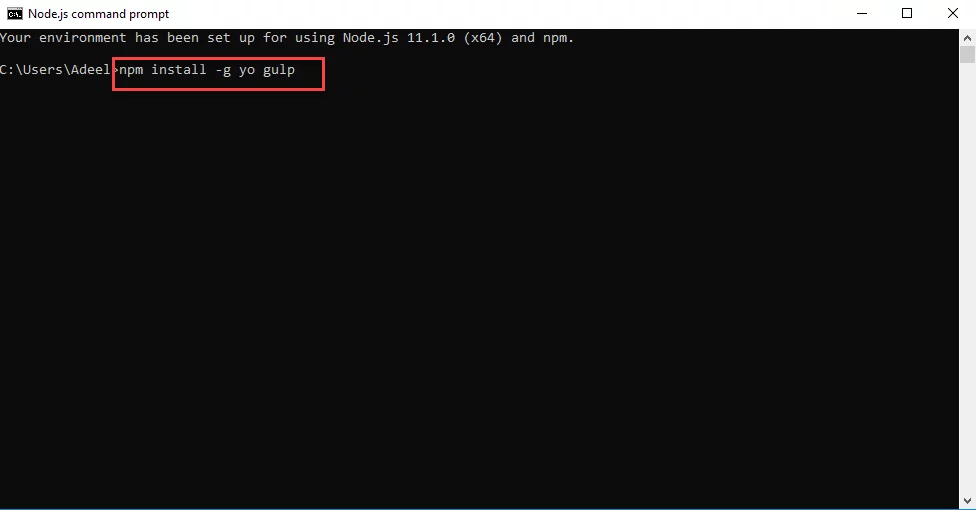
It will take some time to install Yeoman and gulp. After successful installation of Yeoman and gulp you will see the screen similar to the screenshot below:
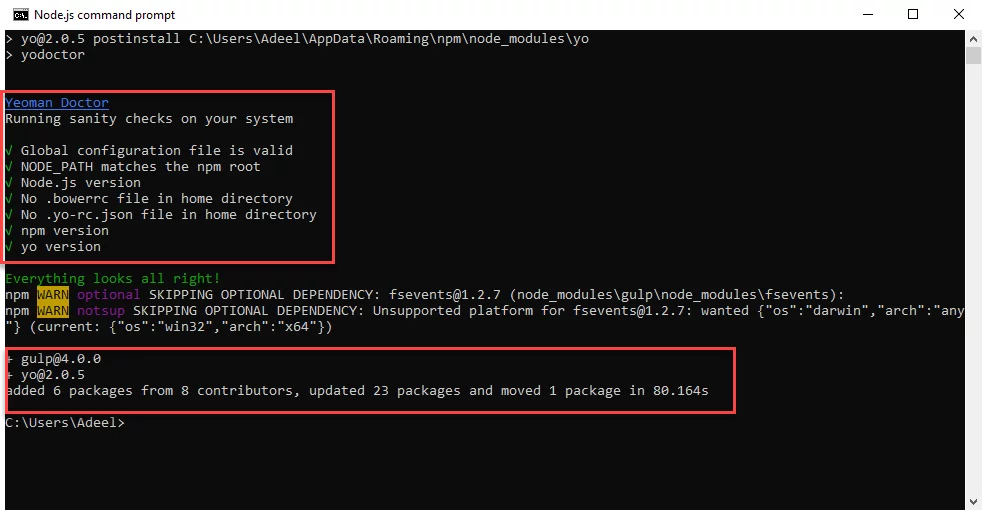
Note: -g in the command is to install
Install Yeoman SharePoint Generator:
The Yeoman SharePoint generator helps you quickly create a SharePoint client-side solution with the right toolchain and project structure.
To install SharePoint generator, enter the following command onto Node.JS command prompt:
npm install @microsoft/[email protected] -g
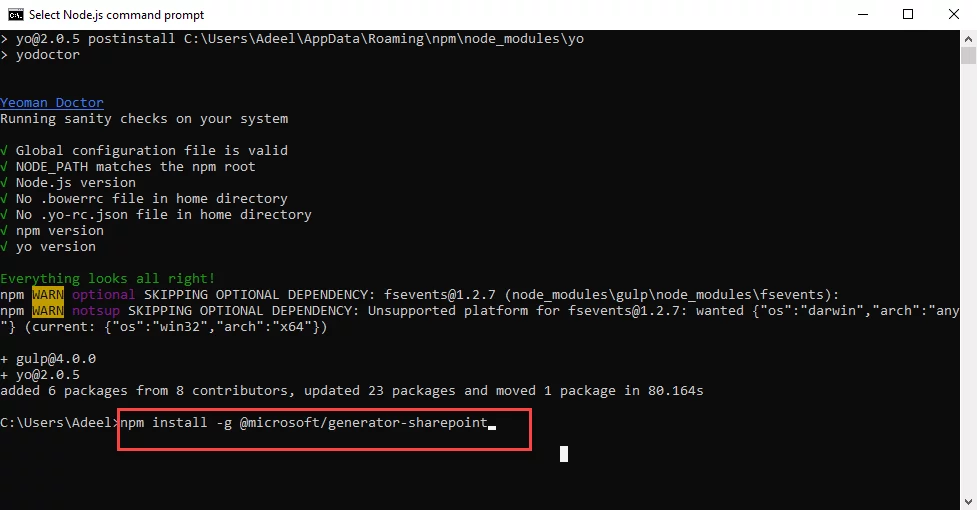
It will take some time to install Yeoman SharePoint generator. After successful installation of SharePoint generator, you will see the below given screenshot:
Read more: Deploy a SPFx web part
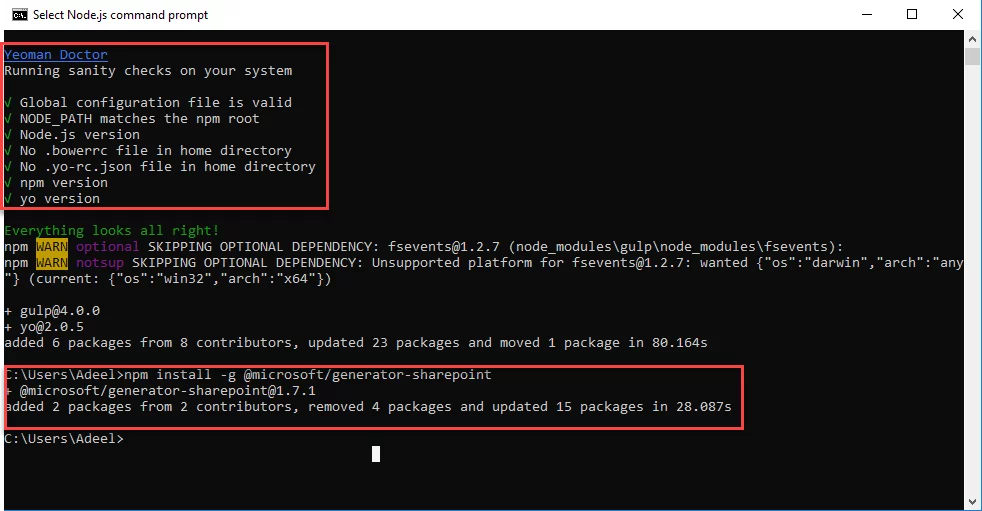
Note: -g in the command is to install SharePoint generator globally
You are all set to build your first SPFx web part or extension.
Validate and Version Check for Installations:
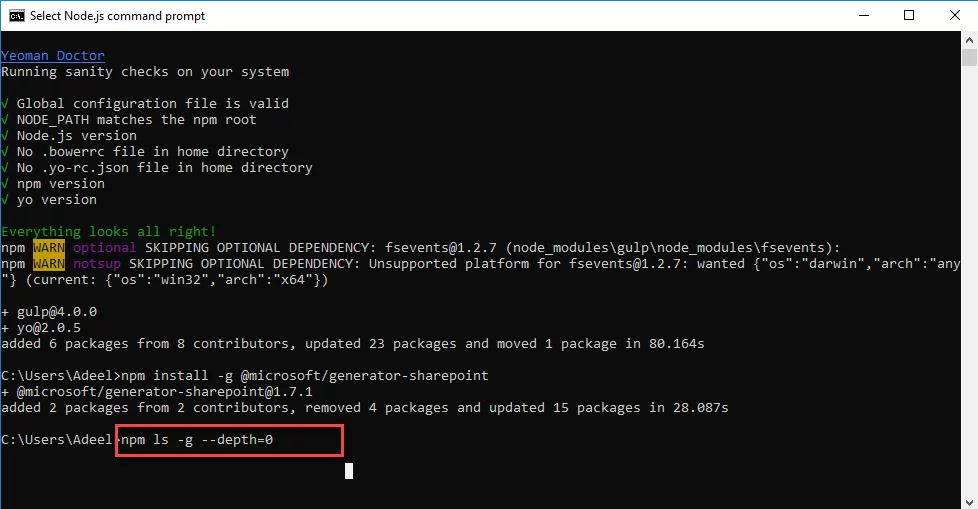
To validate that everything is installed correctly and to know the version details for installed Yeoman, gulp and SharePoint generator, enter the following command onto Node.JS command prompt:
npm ls -g –depth=0
You will see all the installations and version details for Yeoman, gulp and SharePoint generator like in below screenshot:
Installed versions for gulp, Yeoman and SharePoint generator are:
Gulp: 4.0.0
Yeoman: 2.0.5
SharePoint generator: 1.7.1
You may also like: Build your first SPFx client-side web part
Accelerate Business Growth with SharePoint Customization
Empower your team with a seamless SharePoint experience. We offer tailored SPFx development services to streamline collaboration and drive innovation in your digital workspace.
Request a ConsultationConclusion
After successful installation of all the pre-requisites for SPFx development such as: Yeoman, gulp and SharePoint generator, you are all set to build your first SPFx web part or extension. In the next blog, we will build our first client side SPFx web part where we will not need to install gulp, Yeoman and SharePoint generator again because we have already installed all these globally.
If you have any question or queries, do not hesitate to reach out to us!
Explore Recent Blog Posts


