Document Management implementation using Content Types in SharePoint – Part 2

alphabold
Introduction
In the first blog of this series, we created content types. We will start from where we left. If you have not read the first blog in the series please check out this link: Document Management Implementation Using Content Types in SharePoint – Part 1
In this part we will associate our custom metadata columns with content types and content types with Document Library:
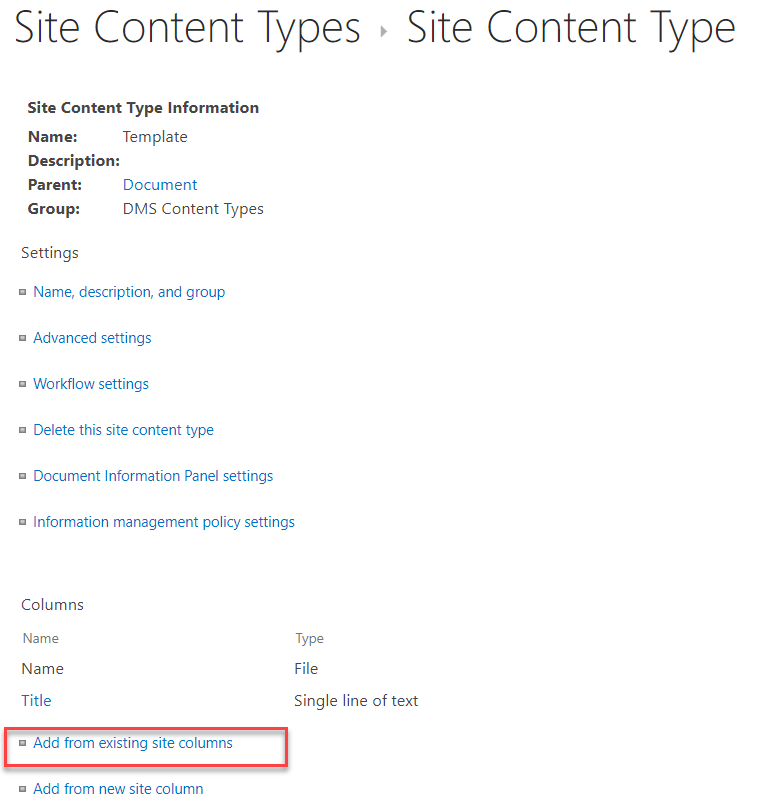
Step 1: Click on “Add from existing site columns”
Step 2: On the next screen select your group which you used to organize all site columns. In our case, we have “Custom columns”. This will only show you the columns from that group.
Select column from “Available columns:” and click on Add.
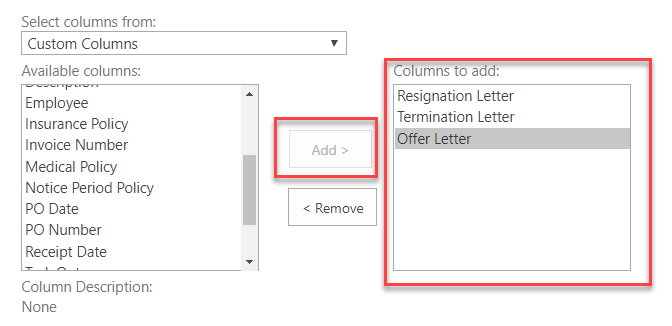
Step 3: Click ok.
Step 4:You will see all the added columns associated with your content type
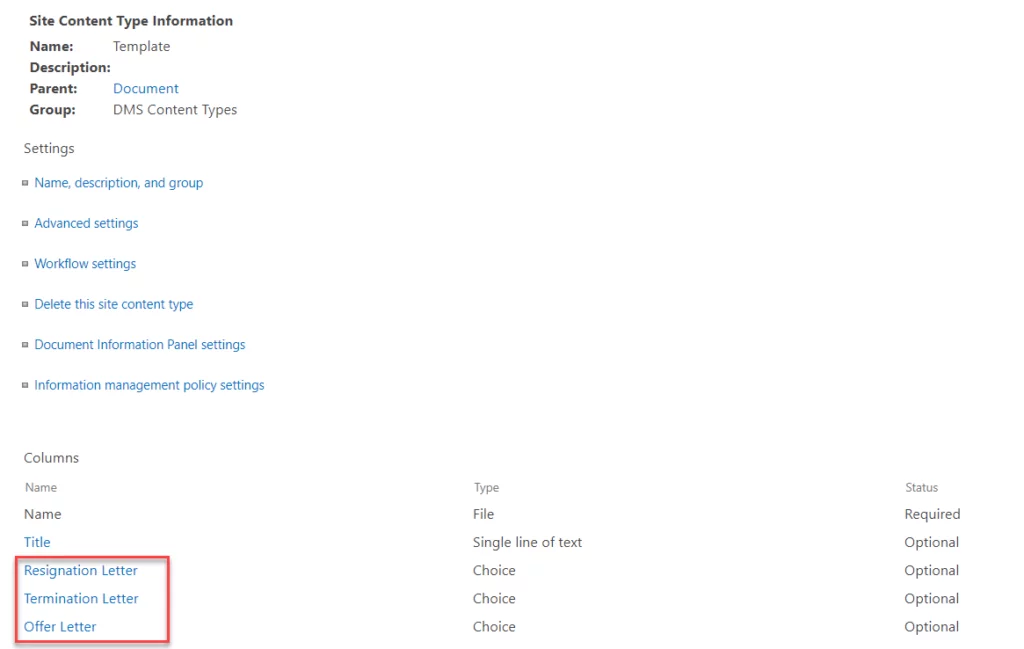
Step 5: Repeat this for all other content types identified in step 2.
Step 6: Create a new document library
- From gear icon go to site contents
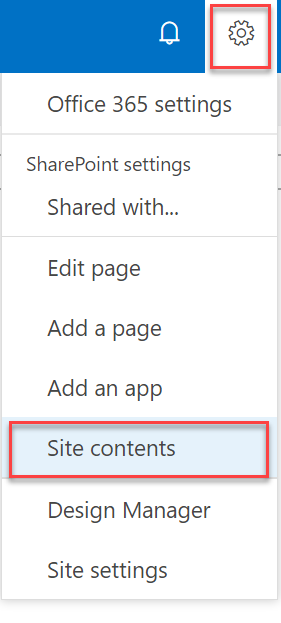
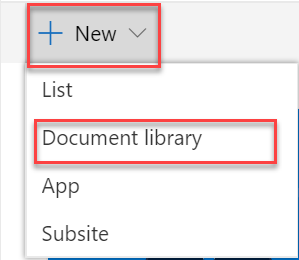
- Click on New then click on Document library and click ok. Your new document library is created successfully.
Transform Your Document Management with SharePoint
Boost your document management strategy by leveraging Content Types in SharePoint. Our consulting services offer bespoke solutions to enhance efficiency and compliance across your organization.
Request a ConsultationStep 7: Prepare the document library for custom content types and custom metadata
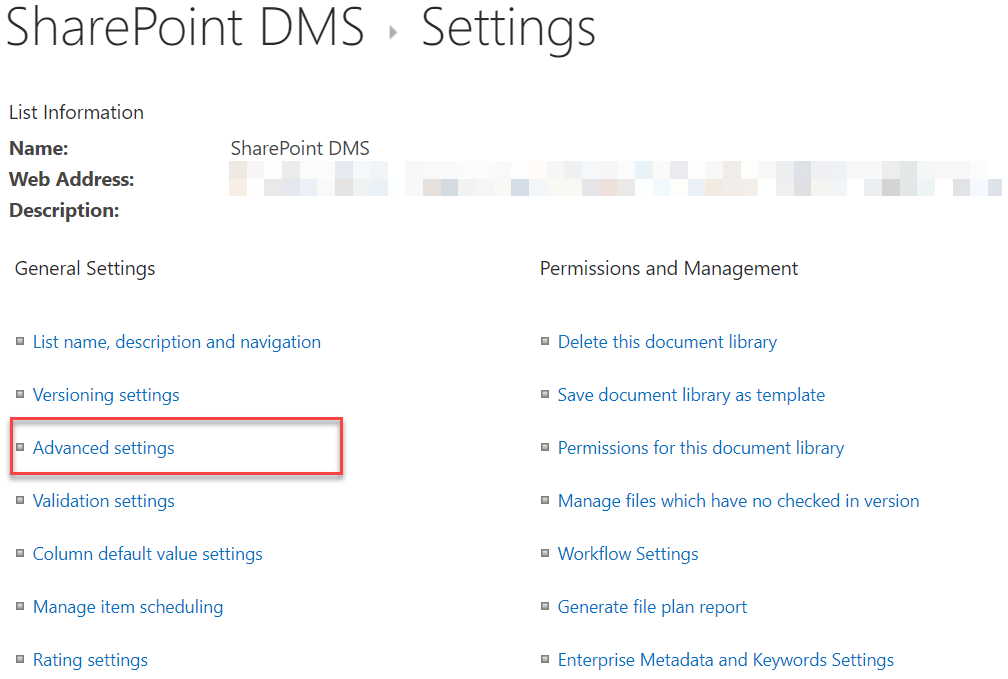
- Go to library Tab and click on library settings

- On next screen, click on “Advanced settings”
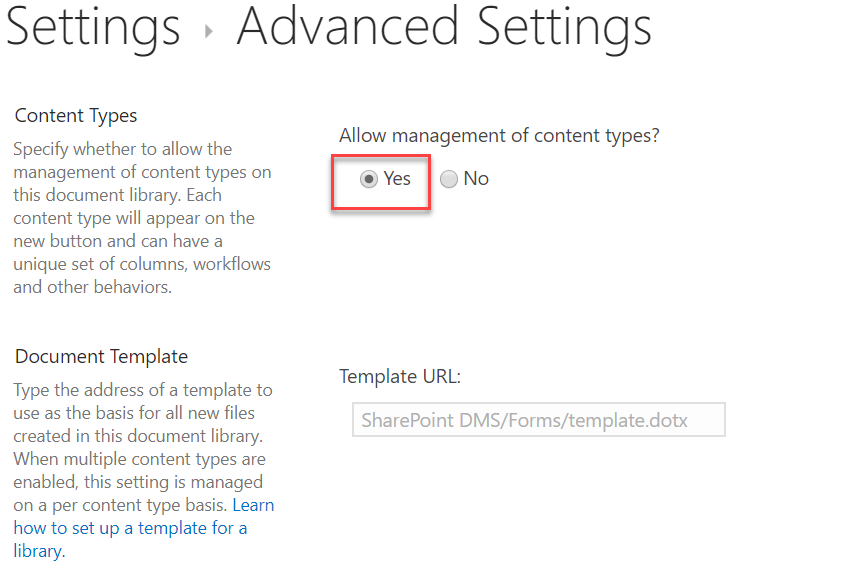
- Under “Allow management of content type?”, select “Yes” radio button.
- In the middle of screen, under “Make “New Folder” Command Available?” Choose NO Radio button.

- Scroll to bottom of screen, under” Display this list using the new or classic experience?”
Choose “Classic” radio button

- Click Ok
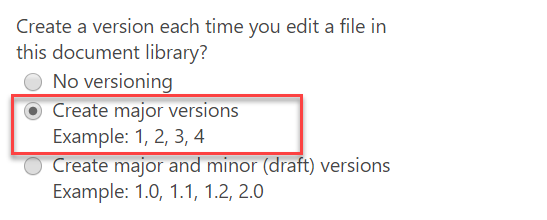
- From Library setting page again, click on Versioning Settings
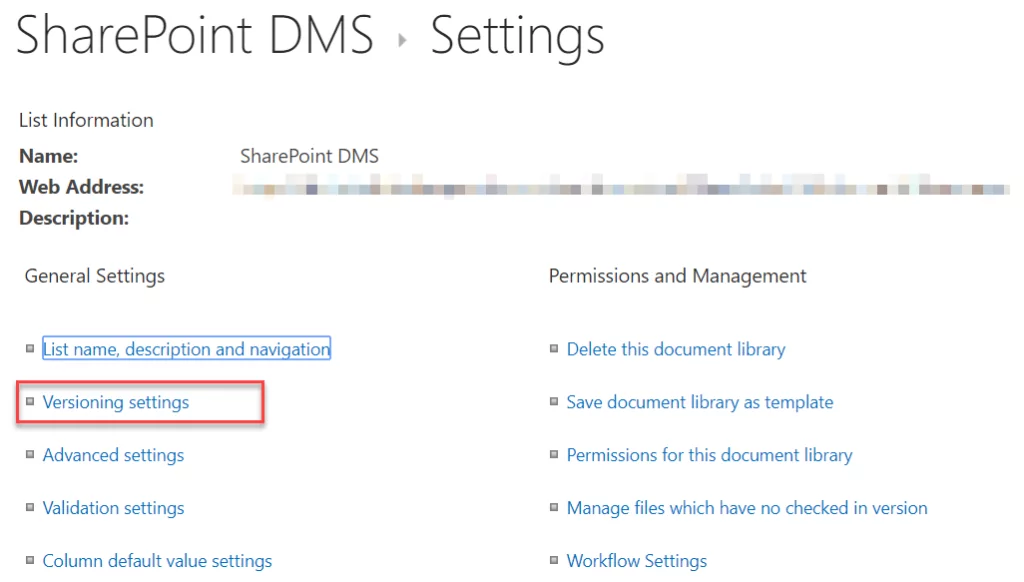
- Click on “Create major version” option if it’s not already chosen.
Step 8: It’s time to add custom content types to document library
-
- On Library settings page, scroll down and click on” Add from existing site content types”

-
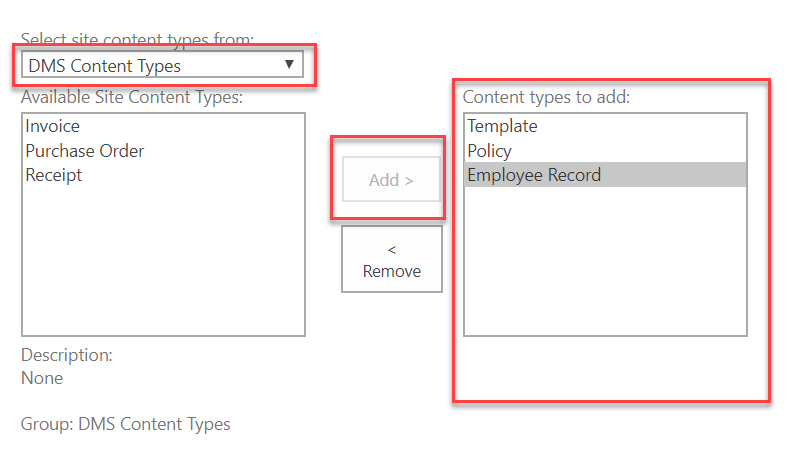
- On next screen, select your custom content type from “Select site content types from:” drop-down. From multi selection box, select content types and click on add.
-
- Click ok
- You will see your custom content types under content type.

-
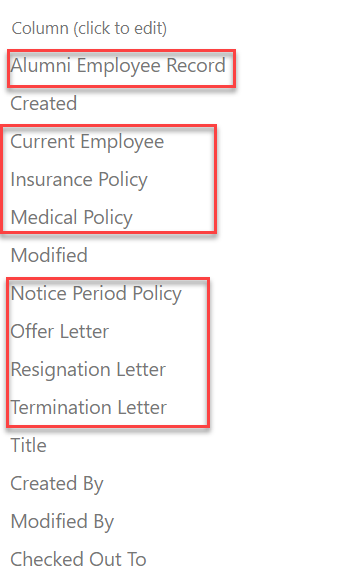
- You can also notice not only content types but corresponding columns are also added.
-
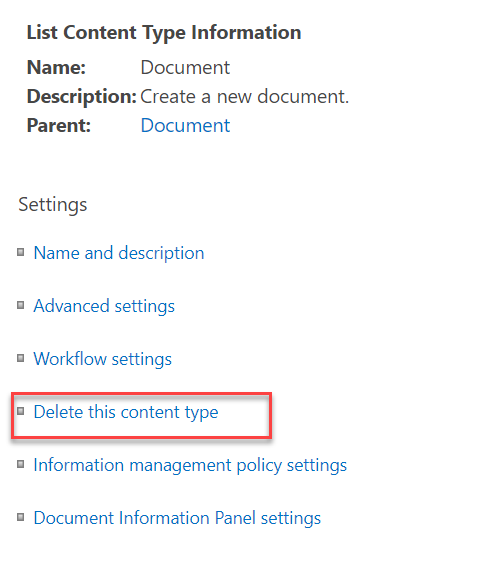
- Remove default content type as we do not need default content type in our DMS. To do this, click on default content type which is under Content Types form library settings page.

-
- On the next screen, click on “Delete this Content type”.
-
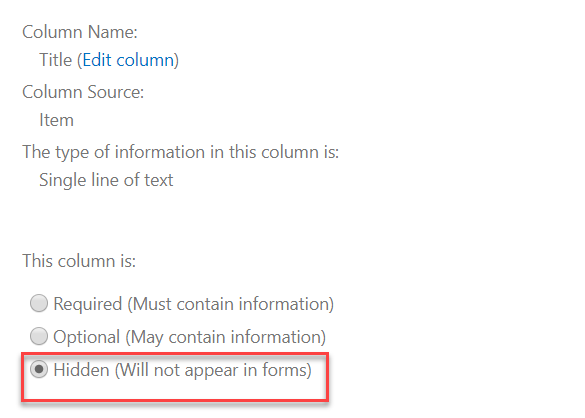
- Another optional thing we can do is to hide “Title” field to reduce extra entry for user. To do this, go to Library settings page under Content Types and click on one of your custom content types

-
- Click on “Title” On next screen, choose “Hidden” radio button under “This column is:”.
-
- Click ok.
- Repeat this for all content types “Title”
Read part 3 here: Document Management implementation using Content Types in SharePoint
Optimize Your Document Management Strategy
Discover how implementing Content Types in SharePoint can revolutionize your document management. Our services include customized SharePoint solutions to optimize workflows and improve document handling.
Request a ConsultationConclusion
Now we have successfully associated metadata columns with content types and content types with our Document library.
In the next part, we will configure metadata base searching in our Document Library.
If you have any question or queries, do not hesitate to reach out to us!
Explore Recent Blog Posts


